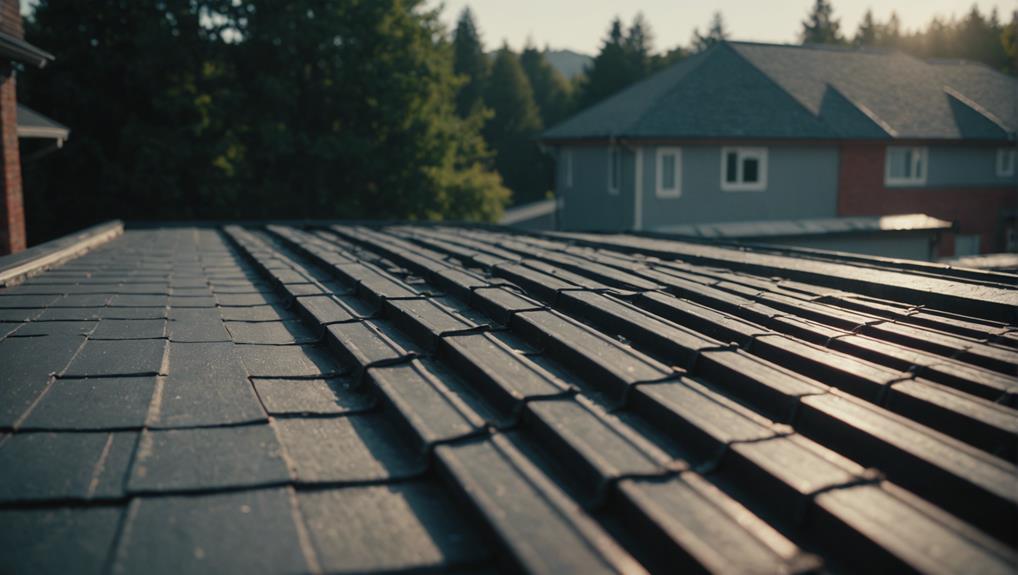
When you notice a sagging roof, addressing it promptly is crucial to avoid potential structural issues and costly repairs down the line. Understanding the root cause of the sag can be the key to finding an effective solution. By following a systematic approach and utilizing the right tools and materials, you can successfully restore the integrity of your roof. Let's explore practical steps to tackle this common concern and guarantee the safety and stability of your home.
Key Takeaways
- Address roof sagging promptly to prevent structural issues.
- Use steel L channels, gusset plates, or support beams for reinforcement.
- Inspect for causes like age, overloading, or water damage.
- Secure gusset plates with screws or nails to maintain stability.
- Engage professional roofers for safe and lasting repairs.
Understanding Roof Sag
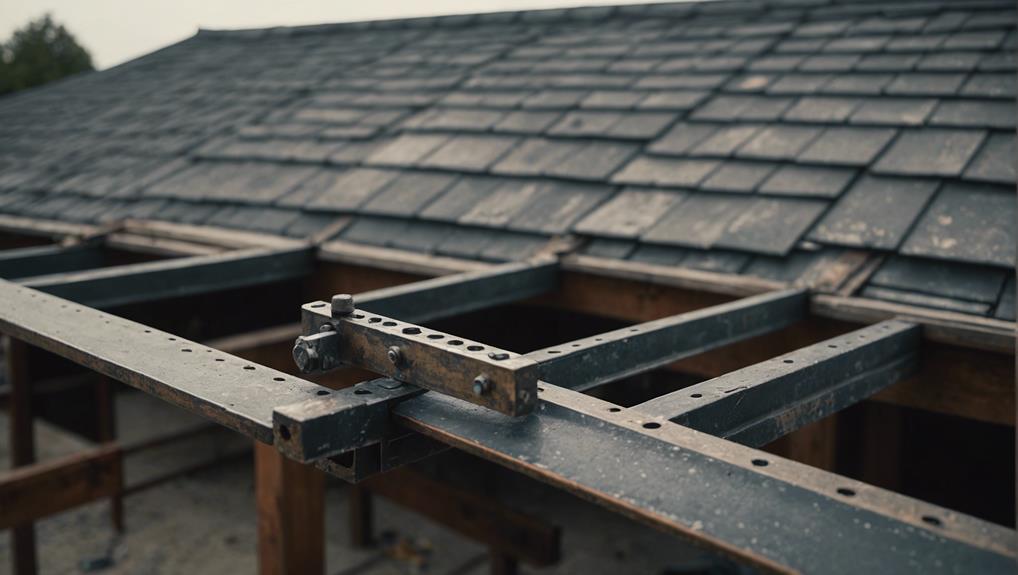
When inspecting a sagging roof, it's important to understand the underlying causes and structural implications to effectively address the issue and prevent further damage. Roof sagging isn't just a cosmetic concern; it signals potential structural issues that must be handled promptly and professionally to maintain the roof's integrity. A sagging roof indicates a downward droop in the middle, which can compromise the overall structural integrity of the building.
To fix a sagging roof properly, it's essential to engage a professional with expertise in dealing with such structural problems. Professionals can assess the extent of the sagging, identify the root cause, and recommend the most suitable solution to maintain the roof's stability and safety. Repair methods may involve reinforcing the affected areas with steel L channels, gusset plates, braces, or support beams to rectify the sagging and strengthen the roof structure.
Understanding the nuances of roof sagging and engaging a professional for its fix are important steps in maintaining the structural integrity of your roof and preventing potential hazards and damages.
Causes of Roof Sag
Roof sag can result from various factors, including age-related deterioration, lack of maintenance, overloading with snow or debris, and structural damage such as broken trusses or rafters. As roofing materials age, they can weaken, leading to a gradual sagging of the roof. Additionally, trusses and rafters that support the roof structure may deteriorate over time, contributing to sagging.
Water damage from poor drainage or leaks can also weaken the roof's integrity, causing it to sag. Excessive weight from snow accumulation or debris adds stress to the roof, further exacerbating the sagging issue. Identifying signs of age-related wear, such as cracks, rot, or breaks in the roofing system, is important in understanding the extent of the problem.
It's vital to address these issues promptly to prevent further damage and maintain the structural integrity of the roof.
Essential Tools for Roof Repair

You'll need essential tools like a flashlight for visibility, a drill for fastening, and a chisel or reciprocating saw for woodwork when repairing a sagging roof. Safety glasses are a must to protect your eyes, while measuring tape guarantees accurate measurements and 2x4s provide structural support.
Utilizing materials such as steel L channel, lag bolts, carriage bolts, nuts, and washers, along with brackets, screws, and nails, is vital for a successful and safe roof repair process.
Key Roofing Tools
To effectively tackle roof repair projects, ensuring you have essential tools such as a flashlight, drill, chisel, safety glasses, and measuring tape is paramount. These tools play a critical role in addressing structural issues like a sagging roof. Additionally, materials like steel L channels and lag bolts are important for reinforcing roof decking and structural beams. Below is a table outlining key roofing tools:
| Tool | Function | Importance |
|---|---|---|
| Flashlight | Provides visibility | Essential |
| Drill | Mounting reinforcements | Critical |
| Chisel | Removes damaged wood | Significant |
| Safety Glasses | Eye protection | Essential |
Having these tools at your disposal will enable you to undertake effective roof repairs with confidence and precision.
Must-Have Equipment
Having the essential tools required for fixing a sagging roof now established, the next step is to explore the essential equipment for effective roof repair. When addressing structural issues like sagging trusses or rafters, 2x4s play an important role in providing stability and support.
Steel L channel is indispensable for straightening and reinforcing these elements, offering durability and strength. Lag bolts (⅜-inch by 2-inch or longer) are necessary for securely fastening the steel L channel to the rafters, ensuring a robust connection.
Additionally, safety glasses are crucial to protect your eyes during repair work. By incorporating these materials such as steel L channel, lag bolts, 2x4s, and safety glasses, you equip yourself for a successful roof repair project.
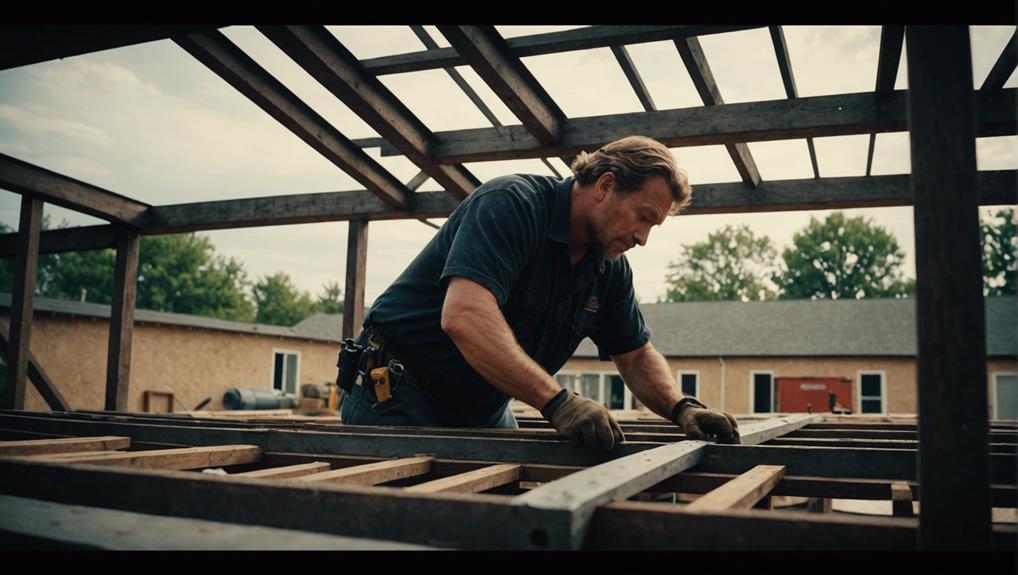
Inspecting the Roof
When beginning the inspection of the roof for sagging issues, start by carefully examining both the exterior and interior of the structure for any noticeable dips or sags. Here are three essential steps to keep in mind when inspecting the roof:
- Check for Structural Damage: Look for signs of damage such as cracked or rotting roof trusses, rafters, or decking. These components are vital for the roof's stability, and their condition will determine the extent of the sagging issues.
- Document Identified Issues: Take pictures of any sagging areas or damage to record the severity of the problem. These visual references will be beneficial when planning for repairs or consulting with professionals.
- Inspect for Water Damage: Look for water stains or signs of leaks in the attic. These indicators can point towards structural problems contributing to the roof's sagging. Addressing any water-related issues is essential in fixing the underlying causes of the sagging roof.
Applying L Channel Treatment
To apply the L Channel treatment, start by installing the metal channel under the damaged rafter. Secure it in place using lag bolts and carriage bolts with washers for added reinforcement.
Confirm precise measurements for the gap between the rafter and L channel to select the correct bolt lengths for a secure attachment that effectively strengthens the weakened area.
Install Metal Channels
Consider reinforcing your sagging roof structure by installing steel L channels underneath the rafters to provide essential additional support and prevent further deterioration. Here's how to go about it:
- Measure and Cut: Begin by measuring the length needed for the steel L channels and cutting them to fit snugly between the rafters.
- Drill Holes: Use a drill to create holes in the metal channels where they'll align with the rafters for bolt insertion.
- Secure with Bolts: Position the channels under the rafters and secure them in place by inserting bolts through the holes and fastening them to establish a sturdy connection.
Secure With Fasteners
To guarantee the structural integrity of the sagging roof, securely fasten the steel L channel using lag bolts to provide stability and support.
Start by drilling holes in the L channel for precise alignment and spacing. Use carriage bolts and washers to fasten the L channel securely to the rafter, reinforcing the damaged area effectively.
Confirm that the bolt sizes are appropriate by measuring the gap between the rafter and the L channel.
Mount the L channel under the rafter to address the sagging roof issue efficiently. By employing these fastening techniques with lag bolts and gusset plates, you can fortify the roof's structure and prevent further sagging.
Mounting the L Channel
When mounting the L Channel for reinforcing a sagging roof, make sure to take precise measurements for accurate bolt selection. To guarantee a successful installation, follow these steps:
- Measure Twice, Bolt Once: Taking accurate measurements of the gap between the rafter and the L Channel is essential for selecting the right size of lag bolts. Proper bolt selection will provide the necessary support to straighten the sagging roof effectively.
- Positioning is Key: Mount the L Channel onto the underside of the rafter to reinforce and stabilize the structure. This positioning helps distribute the weight evenly and prevents further sagging or damage to the roof.
- Check for Structural Integrity: Before mounting the L Channel, inspect for any broken trusses or rafters that may need repair. Addressing these issues beforehand will ensure a solid foundation for the reinforcement to work effectively.
Fixing the Gusset Plate
When addressing the gusset plate in your roof structure, strengthening this component is vital for maintaining the overall stability and strength of your trusses.
By properly securing the gusset plate, you can help guarantee that your roof maintains its structural integrity and reduces the risk of further sagging.
It's important to prioritize the correct installation and maintenance of these plates to secure the long-term safety and durability of your roof.
Reinforcing Gusset Plate
Examining gusset plates for signs of damage is essential in determining the reinforcement needed to stabilize the roof structure effectively. To reinforce gusset plates properly:
- Inspect Thoroughly: Look for rust, cracks, or bending in the gusset plates to identify areas that require reinforcement.
- Secure Firmly: Use screws or nails to attach the gusset plate securely to the truss or rafter, enhancing stability.
- Reinforce Strategically: Strengthen weak gusset plates by adding steel plates or braces in critical areas to prevent further sagging and maintain proper weight distribution throughout the structure.
Securing Roof Structure
To effectively secure the roof structure and address issues with the gusset plate, it's essential to establish a robust and stable connection by using appropriate fasteners such as screws or nails. Securing the gusset plates is vital in preventing further roof sagging.
By reinforcing the joints with these fasteners, you can add strength to the structure and guarantee that the roof remains stable. Loose or damaged gusset plates can exacerbate roof sagging, making it imperative to address them promptly.
Adding additional support to the gusset plates will provide the necessary reinforcement to prevent potential collapse and maintain the structural integrity of the roof. Properly securing the gusset plates is a key step in remedying roof sagging issues.
Ensuring Structural Integrity
A thorough assessment of the gusset plates' condition is essential to guarantee the structural integrity of the roof system. Here are three essential steps to reinforce the gusset plates and address a sagging roof effectively:
- Inspect the Gusset Plates: Carefully examine each gusset plate for signs of damage, corrosion, or improper installation that could compromise the roof structure.
- Repair or Replace Damaged Plates: Repair any minor damages promptly, and consider replacing severely corroded or weakened gusset plates to ensure maximum strength and stability.
- Reinforce with Additional Fasteners: Strengthen the connections by adding extra fasteners to secure the gusset plates firmly in place, distributing the load evenly and preventing further sagging issues.
Additional Reinforcements
Implementing additional reinforcements such as braces, support beams, and gusset plates is crucial to enhancing the structural integrity of a sagging roof. Age can weaken rafters or trusses, leading to sagging. If you notice undersized rafters or inadequate support, adding braces and support beams can help distribute the weight more effectively.
Mounting an L Channel under the rafter and securing it with lag bolts is a practical solution to stabilize the damaged area. Reinforcing joints with plywood gussets strengthens the overall roof structure and prevents further sagging. Focus on reinforcing gable ends as they're vulnerable areas.
Proper installation of these additional reinforcements is essential to avoid leaks and potential roof collapse. By addressing these key areas with appropriate reinforcements, you can safeguard the longevity and stability of your roof.
Professional Roofing Contractor
Engage a seasoned professional roofing contractor to expertly address and resolve any issues with roof sagging, ensuring a safe and long-lasting solution. Hiring a professional roofing professional guarantees that age or wear-related problems with your roof will be handled with expertise.
Here are three reasons why hiring a roofing professional is essential:
- Expertise: Professional roofers have the skills and knowledge to accurately assess the extent of the damage to your roof structure and provide effective solutions tailored to your specific needs.
- Safety: Roofing contractors prioritize safety during repairs, reducing the risk of accidents or further damage to your property. By entrusting the job to professionals, you can rest assured that the work will be carried out safely and efficiently.
- Long-lasting Repairs: With a roofing expert at your service, you can expect thorough evaluation of the issue and durable repair strategies that will restore the integrity and stability of your roof for years to come. Hire a professional today to fix your roof sagging problems effectively.
Preventing Future Roof Issues
To maintain the structural integrity of your roof and prevent future issues, it's essential to proactively implement preventative measures that address potential sources of sagging.
Regularly inspect your roof for signs of sagging, such as dips or uneven areas, to catch issues early. Address water leaks promptly to prevent water damage that can weaken the roof structure and lead to sagging.
Reinforce weak areas proactively with additional support beams or reinforcements to prevent future sagging. Monitor the roof for any signs of sagging, such as visible dips or cracks, to take action before the problem worsens.
Consult with roofing professionals for advice on preventative maintenance strategies to ensure a structurally sound roof and prevent sagging. Remember, with age, roofs may become more susceptible to sagging, making proactive maintenance even more vital.
Frequently Asked Questions
Can You Jack up a Sagging Roof?
You can jack up a sagging roof using proper techniques. Prevent roof sagging by addressing common causes early. Structural repairs are essential. Regular professional inspections help detect issues. Ensure safe and even lifting for a stable roof.
Can a Sagging Roof Be Repaired?
Yes, a sagging roof can be repaired. Conduct a thorough roof inspection for structural issues. Implement roof reinforcement with steel or wood. Seek professional assistance for severe cases. Taking preventive measures promptly maintains the building's integrity.
How Do You Brace a Sagging Roof?
When bracing a sagging roof, guarantee proper roof truss alignment, reinforce with structural support like steel L channels, and consider beam reinforcement for stability. Professional inspection may be needed for severe damage or temporary bracing.
Does Homeowners Insurance Cover Sagging Roof?
Your homeowners insurance coverage for a sagging roof hinges on the cause of damage. Policies usually exclude wear and tear. Study your policy, document the damage, and let the insurance adjuster assess it for potential repair or replacement.
Conclusion
Now that you have reinforced your sagging roof with proper techniques and tools, take the time to investigate the underlying causes of the issue.
By understanding the root of the problem, you can prevent future roof sagging and guarantee the long-term structural integrity of your home.
Remember, knowledge is power when it comes to maintaining a safe and sturdy roof.